
Overview
The Weblogic marketplace image accelerates WebLogic deployment in Oracle Cloud Infrastructure however, it does not provide a way to configure Weblogic in a clustered environment.
In this three-part blog series, we will go through the process of quick deployment of a Weblogic cluster using the marketplace image in private subnet.
Part 1: Deployment of first-node of the WebLogic cluster
Part 2: Configure Weblogic Domain
Part 3: Deployment and addition of the second node of the WebLogic cluster
We will achieve this by performing the following steps:
- Provision the first node of the WebLogic cluster using the marketplace image
- Configure a Weblogic domain
- Configure node manager on the first node to administer managed servers
- Provision the second node of the cluster using a clone of the boot volume from the first node
- Configure the second node and add it to the Weblogic Cluster
This post assumes that the prerequisites such as compartments, VCNs, subnets, Network Security Groups/ Security Lists etc. are already in place. If not, work with your cloud administrator to set those up first.
Provision node-01 of the Weblogic cluster
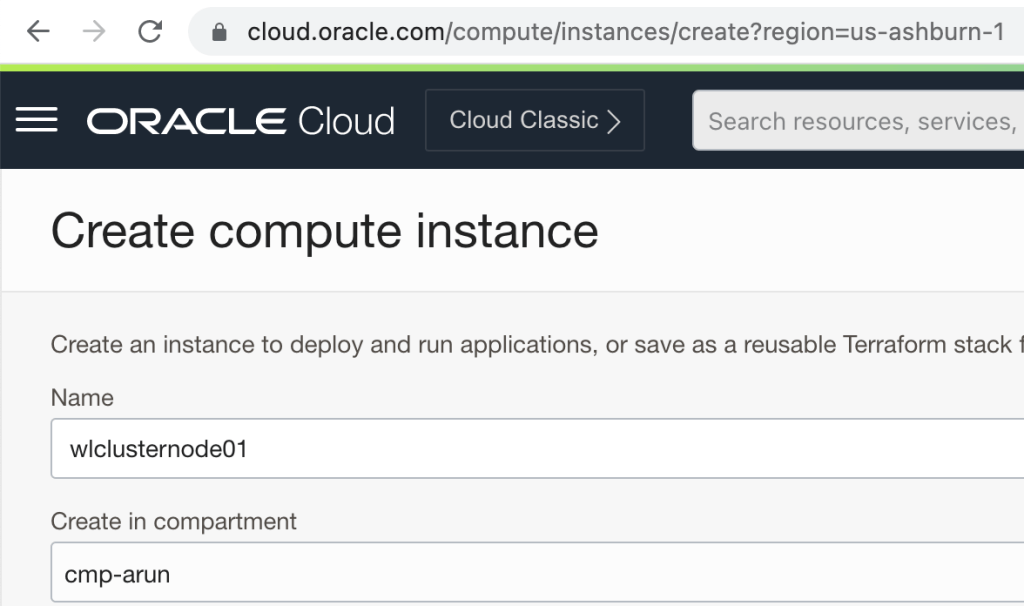
Login to Oracle Cloud Console, switch to the compartment where the Weblogic cluster will reside, navigate to Compute –> Instances, and click on “Create Instance”.

Provide a meaningful name to the instance. For this post, we will call it wlclusternode01.
Scroll down to “Image and Shape”, click on “Change Image”. Under “Image sources, select “Oracle images” and type “WebLogic” in the search field. For this post, we will choose the “Oracle WebLogic Server Enterprise Edition UCM Image” and accept the terms of use and click on “Select Image”.

Based on the type of application that the WebLogic cluster is going to host, you may want to change or update the compute shape. For this post, we are going to proceed with the default i.e. 1 OCPU and 8 GB of memory.
While not required, I would recommend choosing a Fault Domain manually so that the second node can be created in another Fault Domain to maintain anti-affinity.

Now under Networking, select an existing VCN and subnet. Based on the networking configuration, you can either select a public or private subnet. For this post, we are going to stick to the private subnet so that the WebLogic cluster is not publically accessible.

If you already have a SSH key pair, upload the public key or generate a new key pair. Check the box to “Specify a custom boot volume size” and increase the boot volume to 100 GB. It is required so that you do not run out of space soon as the marketplace image installs Weblogic and related components under “u01” which is mounted on the root partition. An alternate could be to attach an FSS volume and mount /u01 on that however that is outside of the scope of this post.

You can choose the management, availability configuration, and cloud agent options based on your requirements. Once done, click on “Create”.
I assume that you are going to use the WebLogic cluster to deploy an actual application so, this is the time to configure the VM based on your organizational requirements. Once the VM is configured, we can jump on to the next section to configure the Weblogic domain. Once the VM is provisioned, login using the private ssh-key that was used during the VM creation with your favorite ssh tool like Putty or MobaXTerm etc and prepare the O.S. per your organization’s standard.
Next step: Configure Weblogic Domain
Discover more from IT-Noesis
Subscribe to get the latest posts sent to your email.

2 thoughts on “Accelerate Weblogic Cluster Deployment in OCI Using Marketplace Image - Part 1”